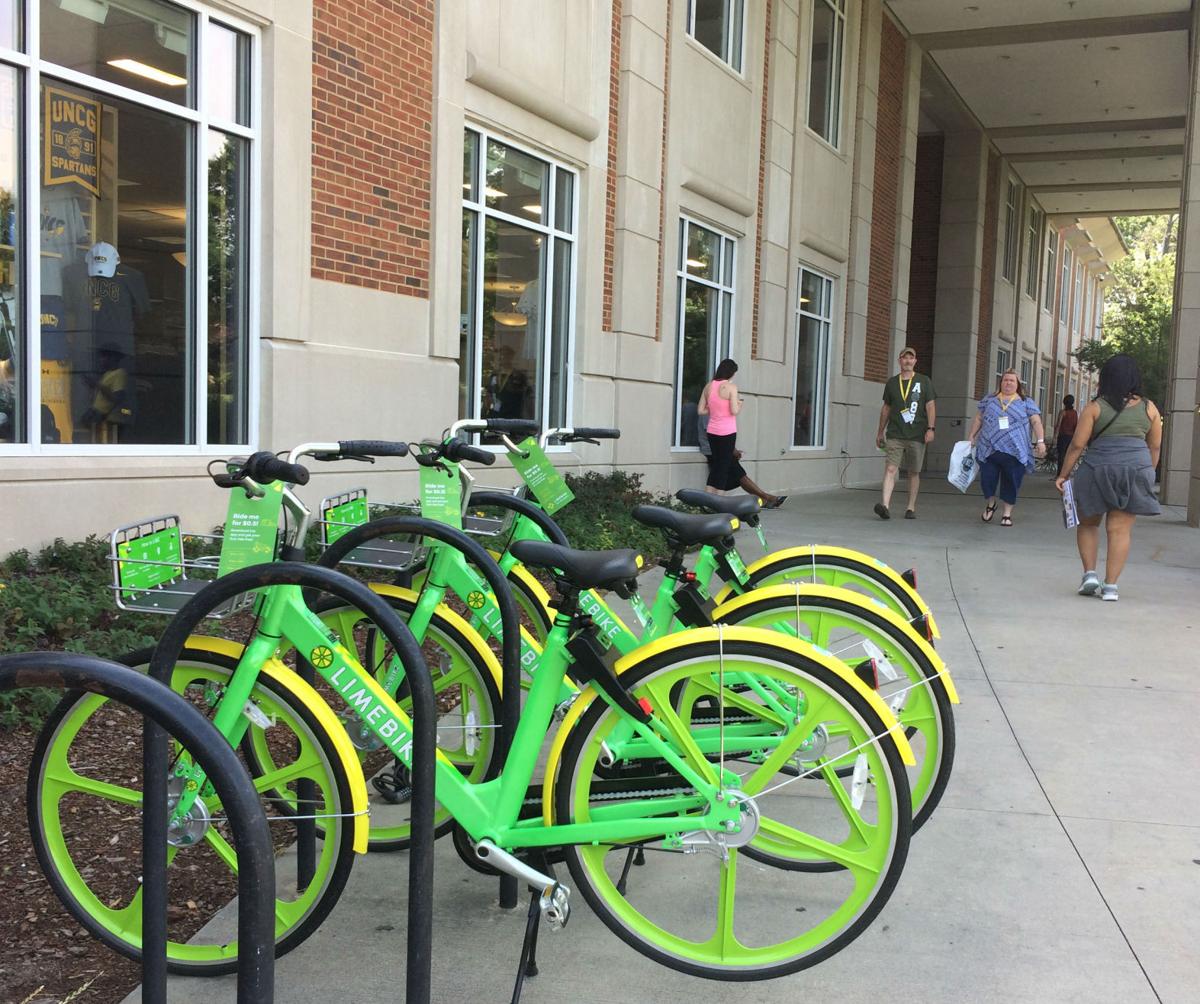
Several weeks ago, I was biking on the Burke Gilman trail towards UW Seattle when I noticed a mass of neon green and yellow bikes on the side of the trail. Since then, I’ve been seeing these bikes practically flood throughout the trails and sidewalks of Seattle. These new and brightly-colored bikes are called, LimeBike.

LimeBike is a new company that specializes in bicycle-sharing and are based in San Mateo, California. Currently, their program is found in 7 cities and 5 campuses across the United States.

The one major difference between LimeBike and other bike sharing companies is that they do not have fixed docking stations (ie: Pronto bikes). The fixed docking stations are costly to produce and makes it inconvenient for people to retrieve and/or return a bike. LimeBike makes it much more convenient and accessible for everyone by allowing the user to park the bike where it is appropriate. You may have seen other dockless bike-share companies pop up around Seattle such as Spin and Ofo.

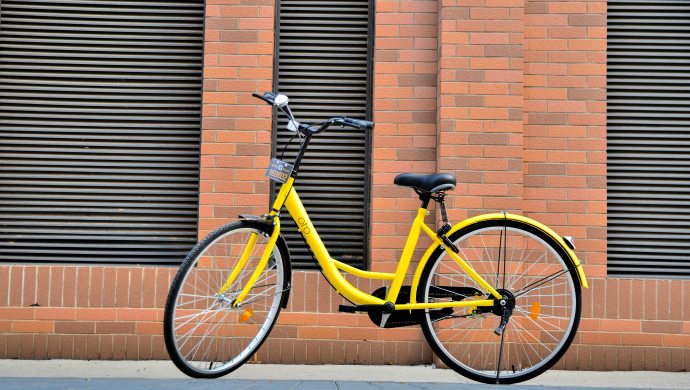
Features of LimeBike
- 8-gear bike
- Hydraulic seat adjustment (makes it easy to adjust to your height)
- Bell
- Front basket
- Solar panel (bottom of the basket) that charges the lock in the back and GPS.
- Double kickstand
- Anti-theft lock and alarm
- Front headlight and rear light

LimeBike anti-theft lock and alarm system. Image via Alpha Dog Agency.
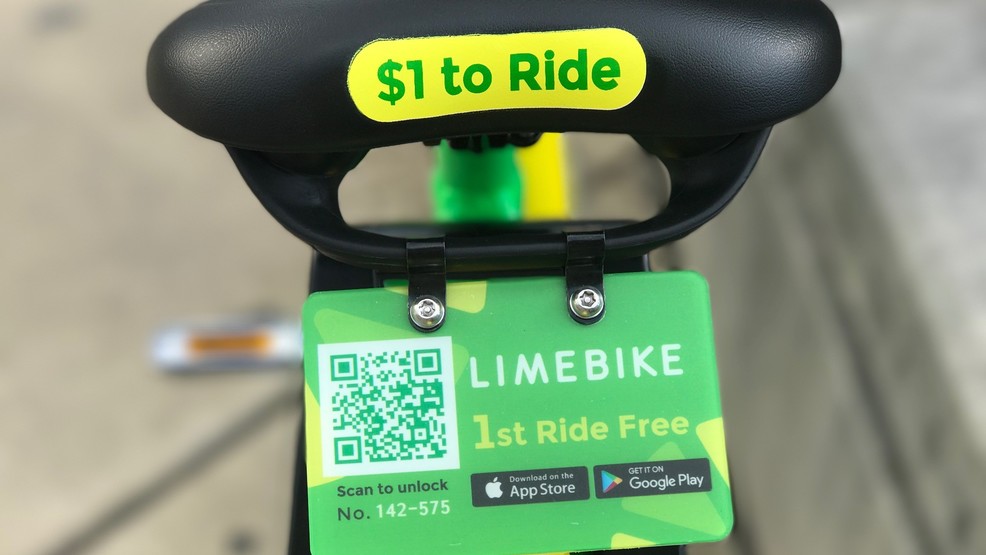
How do I get on a LimeBike?:
- Download the app (Android or IPhone): A map will show locations nearby where you can find a LimeBike.
- Scan the QR code or enter the LimeBike plate number (both located behind the bike seat).
- The bike is locked with a simple bar on the back wheel. It can be unlocked once step #2 is done.
- Now off you go!
- Your trip summary and payment (via debit or credit card) is available after your ride.

How do I pay?
With the app, you will have to insert a credit or debit card to pay. After you finish your ride, a trip summary and payment will be available.
Your first ride = FREE!!!!!!!
Single LimeBike ride
- Students! It’s 50 cents per 30-minute time block with a valid “.EDU” e-mail address.
- $1 for non-student riders
LimePrime
- $29.95 per month with 100 rides.
- Students is $14.95 per month with 100 rides, with a valid “.EDU” email address.

Are there any restrictions on how far I can ride a LimeBike?
LimeBikes can only be used within Seattle city limits!
Where do I put the bike when I’m done?
These bikes are dockless which means you can park them anywhere! Okay NOT exactly anywhere like in the middle of a 4-way intersection but where it is safe and appropriate. These locations include bike racks, on the side of a trail, and anywhere that doesn’t cause a hindrance for cars or pedestrians.
Are helmets available?
Unfortunately, it is your responsibility to bring a helmet. Helmet laws vary depending what city you live in. While you may see people ride without a helmet due to the inconvenience of carrying one around, it is a required law in Seattle and King County for riders to bike with one. Safety first!
How do I ride on the trail or road?
- Always ride on the right side of the trail
- Ride in the designated bike lane on roads
- When passing someone make sure to:
- Look over your shoulder before going around the person to check if there is anyone else behind you
- Alert the person by clearly saying “on your left” and then pass
- OR ring your bell and proceed to pass
- When turning make sure to use the hand signals (same signals used when your car brake lights aren’t working):
-

Bike hand signals. Image via Michigan Auto Law - Tip: it is best to use your left arm for signaling turns so you are able to keep your right hand on the right brake. The right brake controls your rear wheel and left brake controls your front wheel. In case of an accident during a turn signal, you would fall back (as you brake your rear wheel) instead of a forward fall (huge face plant to the ground, ouch!).
-
What if there is a broken part on the bike?
LimeBike provides customer service via email, call, or text!
Email: support@limebike.com
Call : 1 (888)-LIME-345.
Text: 1 (888)-546-3345
Biking is a great way to get to your destination, be eco-friendly, avoid the traffic of cars, and exercise! Hopefully this information and set of tips will help you feel prepared to get on a LimeBike and ride away!